While I was recently disappointed to narrowly miss the pre-order window for the Analogue Pocket, I ended up discovering an alternative (more affordable) way to improve the Game Boy console experience.
After seeing this video, I decided to modify my own original GBA with a new screen and case. I bought the Funnyplaying IPS V2 display kit, a plastic mounting bracket, and a new solid white shell, all from Handheld Legend.
I can’t believe how well this turned out! It feels like a whole new console!
For years, my GBA sat on the shelf unplayed. The dark screen with washed-out colors just made it too impractical to enjoy. Of all the models, the original benefits the most from a screen upgrade because the screen was non-backlit and was hard to see even in good light. Display tech has advanced considerably since 2001, and even back then when the GBA was first released, people complained about the quality of the screen. This GBA was just begging for a new display.
At one point I bought a GBA SP model AGS-101 which sports a much-improved backlit screen over the AGS-001 model, but the folding SP never quite fit my hands as well as the original GBA. It was thinner and had smaller buttons with a shallower travel compared to the original. For those reasons I eventually sold it, and decided to seek out a more fitting way to play. With this upgrade, I got the best of both worlds: An original GBA form factor with a modern backlit display.
The new shell wasn’t strictly needed, but the advantage was that it came pre-cut to accommodate the slightly larger size of the new display, reducing the amount of work needed to do the upgrade. I also happen to like the white and gold color scheme. With some additional work in the form of destructive cuts to the plastic, I could’ve fit the screen into the original shell. I chose not to do that so as to leave the original shell intact, which leaves open the possibility to reverse the upgrade in case I ever need to do that for some reason. The new shell also has room for further upgrades: A USB-C cutout in case I ever install the CleanJuice USB-C rechargeable battery pack, for example. I also tried to buy the CleanAmp audio amp upgrade which makes the sound louder and clearer, but that was out of stock at the time.
The most difficult part was that I had to solder three very thin wires in order to get the brightness controls to work (hold down select while pressing L or R to raise or lower the brightness). Despite that, the soldering wasn’t really that hard because I have experience in that area.
I’m excited to finally be able to dive headfirst into my own Game Boy collection! And in case you forgot, the GBA gives you access to ALL Game Boy cartridges, from all Game Boy generations. What more could you want?
More upgrades, that’s what. In the future I will probably add the rechargeable battery pack and CleanAmp mod to my console.
I’ll let the results speak for themselves:
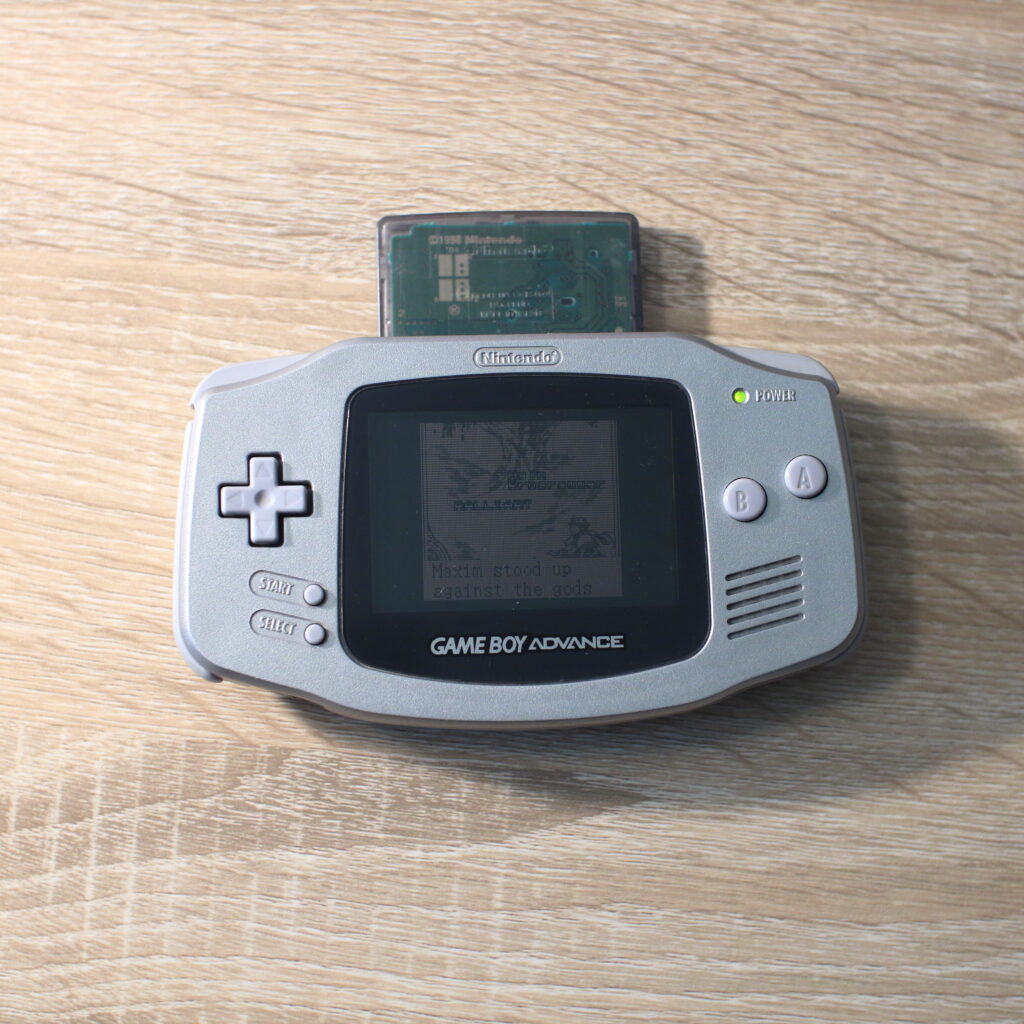
The original console 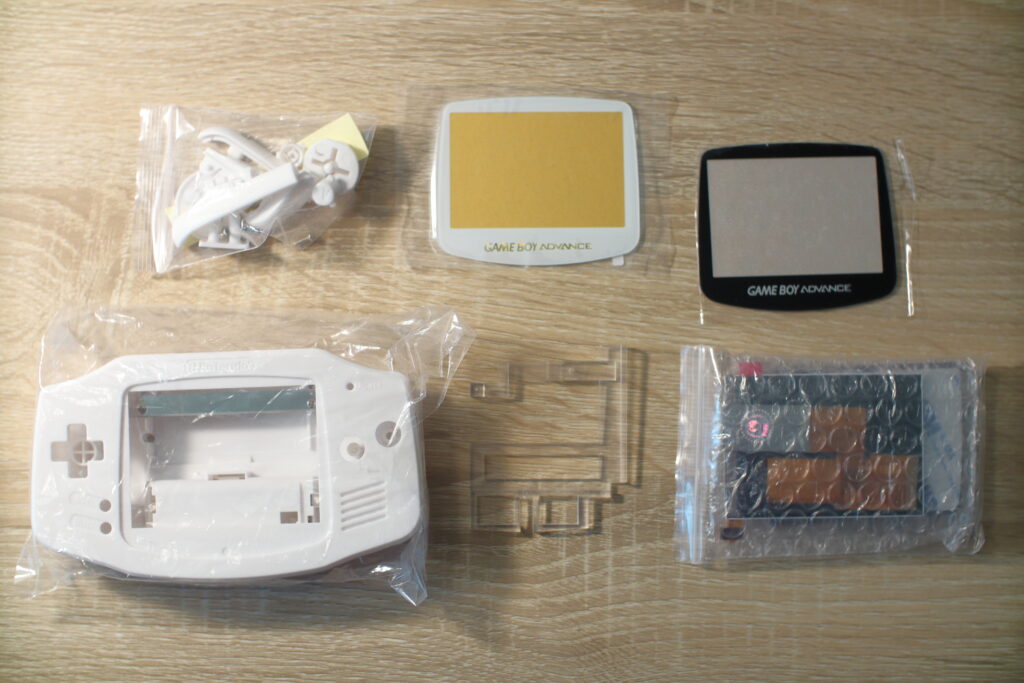
The new components 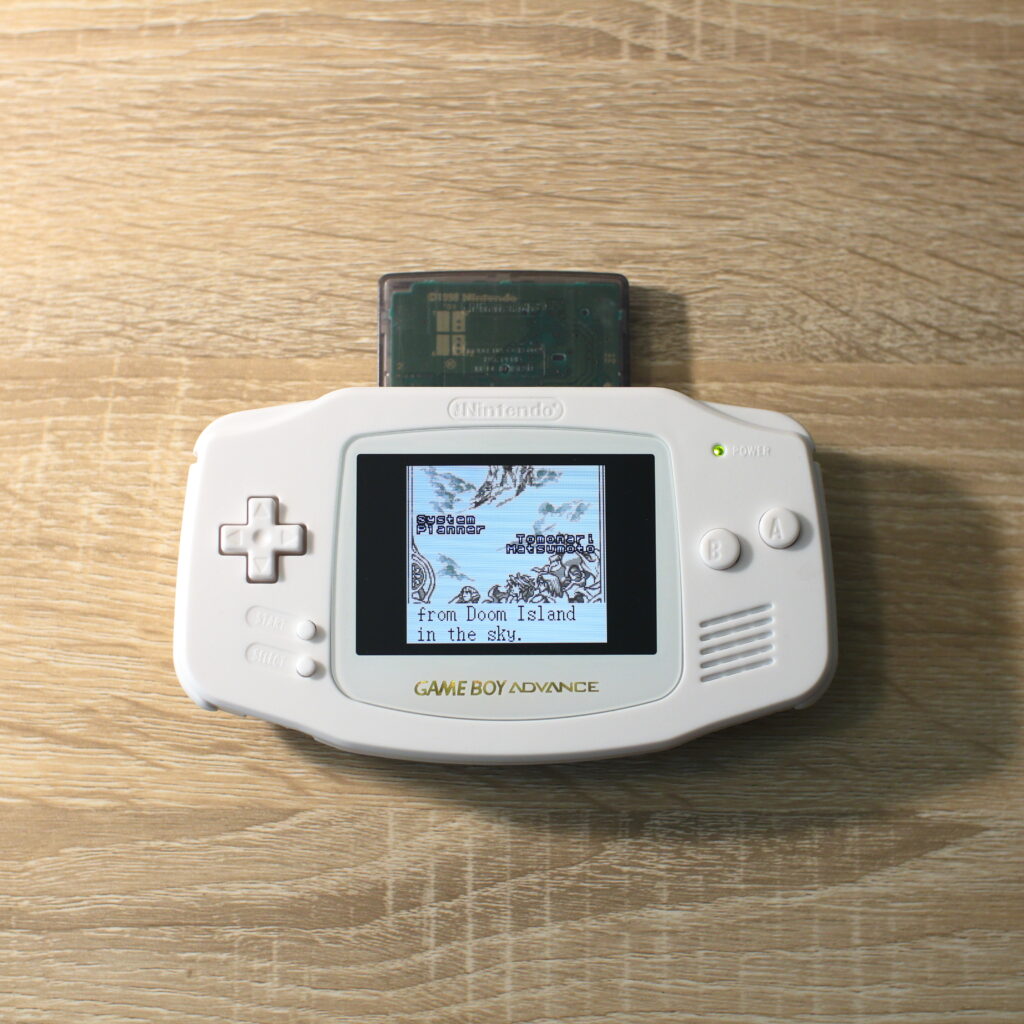
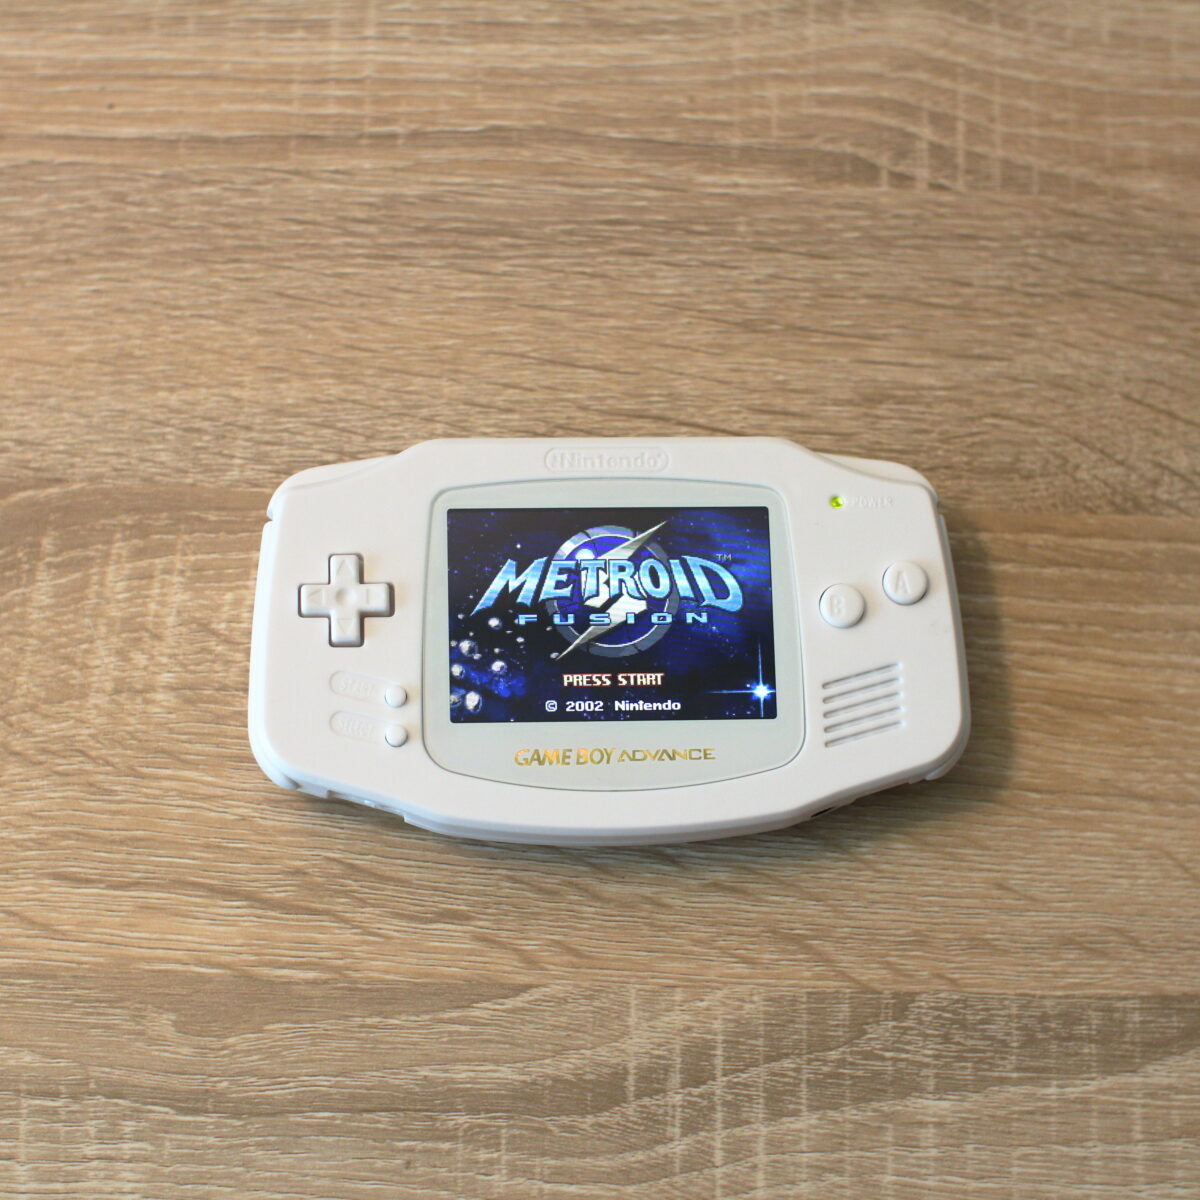
Upgrades finished: Look at that! 
Metroid Fusion with new display 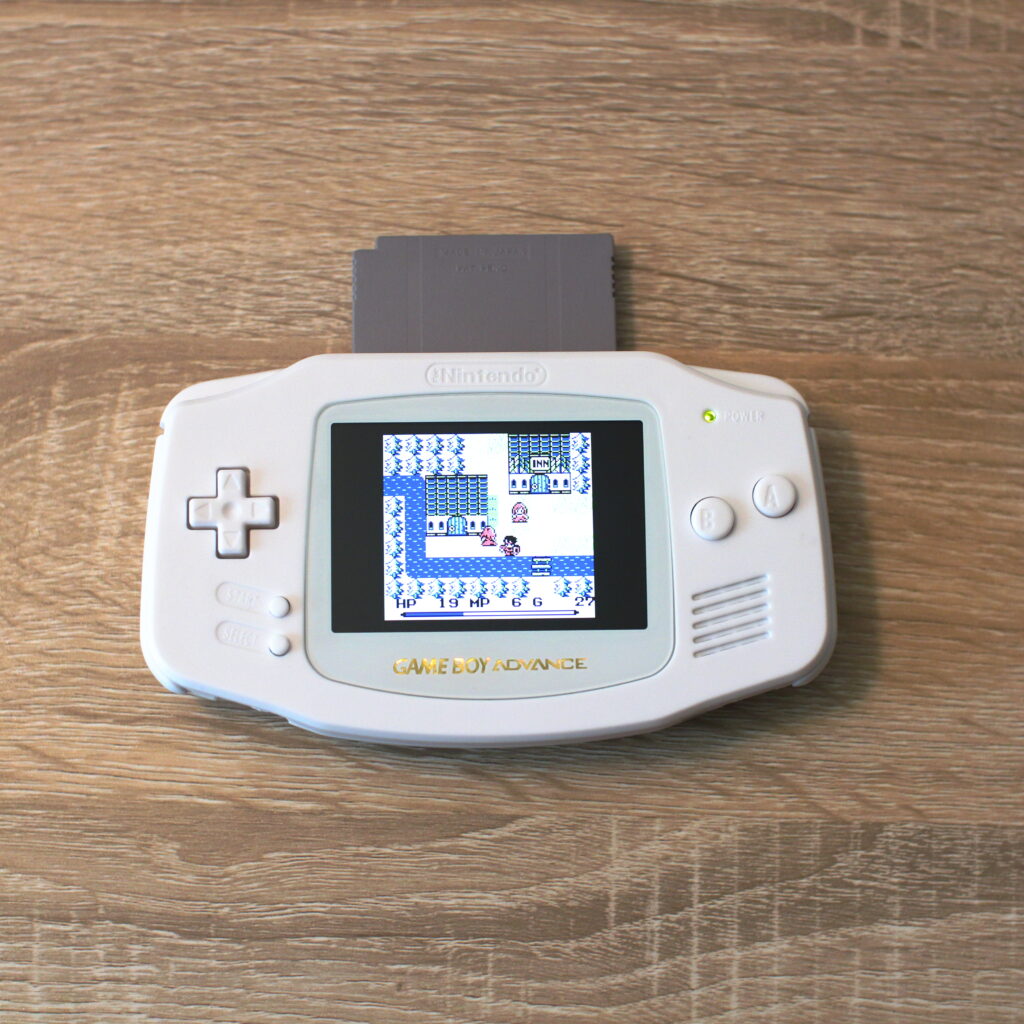
Final Fantasy Adventure with new display 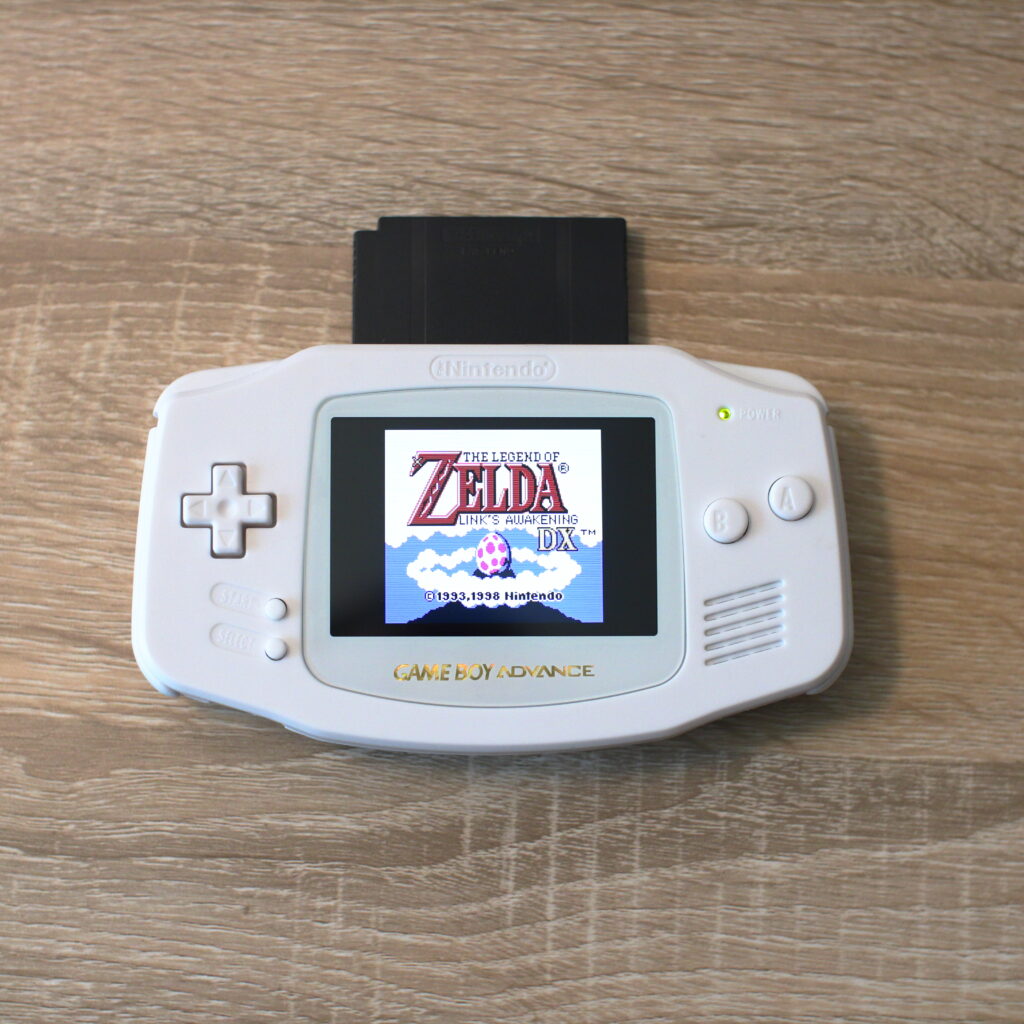
The Legend of Zelda: Link’s Awakening DX with new screen
If you know me personally (as a friend in person or on social media) and you want your GBA upgraded, talk to me!